Boxed sets....
Hi, hello! I'm back today to share the project I have posted over at Butterfly Reflections Ink today! I made 3 different sets of cards and matching boxes to give as gifts.
You'll find instructions and measurements at the end of this post, but I cut 2 strips of card stock, one for the box that the cards sit in, and one for the flap that comes overtop and tucks into the band.
After I cut the strips and scored and folded them, I stamped the fronts and backs with the floral background stamp from The Stamp Market, with Versamark ink, then heated with clear embossing powder on two of the card holders and white embossing powder on the 3rd.
Then I used a very strong double-sided adhesive tape to assemble the box.
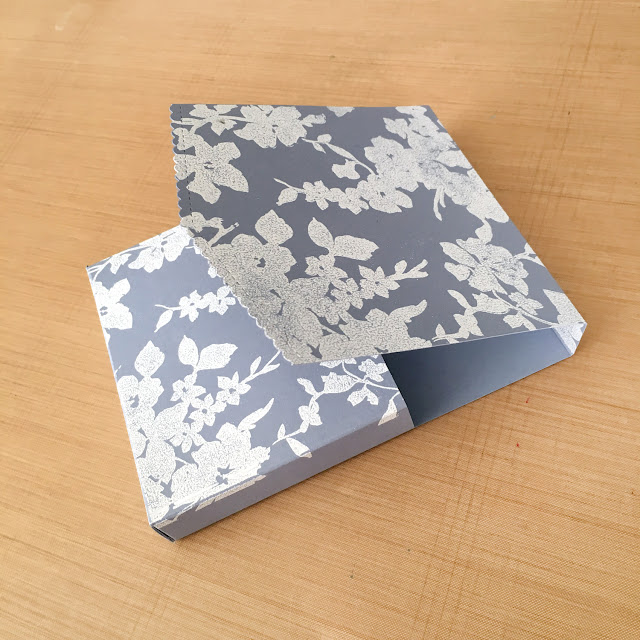
Before adhering the flap to the box, I trimmed the front with the stitched scalloped die from MFT.
Now it's time to join the flap to the box...
...with adhesive on the back of the box portion.
For the three card boxes I made I messed with the length of the front flaps just for a little variety.
This set of Thank You cards was made by using the Concord & 9th T Monogram stamp set and I achieved that distressed denim look completely by accident. I just stamped off a 2nd generation of ink and rather liked the splotchy look, so I added another layer to it with a 2nd lightly inked and stamped impression.
Using the same stamp and several layers of dark blue dye ink, I made this much darker version of the same stamped image as above.
More cards made with the same stamp, but using Simon Says Stone grey ink and several layers of ink. For this box I made the flap with grey card stock and used some patterned paper for the box part. It's not as sturdy as the card stock ones, but quite adequate to hold 4-6 cards and envelopes.
Instructions for the card gift packaging:
For the card box: Cut a strip of card stock 4 1/4" x 12" and score at 4 1/2", 5 1/4", 9 3/4" and 10 1/2". Then score along the length at 3/4". Fold along all the score lines with a bone folder. Cut notches into the small squares created by the scoring lines, then fold up the box and glue the back and bottom together with good strong double-sided adhesive tape like this one from Elizabeth Crafts.
For the flap: Cut a strip of card stock 4 1/2" x 11" and score at 5 7/8" and 6 5/8". Trim the front flap portion with a decorative die, preferably one with a V point to make it easier to tuck the flap under the band. Using strong double sided tape, glue the back of the box to the longest portion of the flap and fold it over the top.
If you plan to stamp on any portion of the card box, you'll want to do that after scoring but before adhering anything.
For the closure band: Cut a strip of coordinating patterned paper 3/4" (or the width you prefer) x 12" long. Trim the edges with Deco scissors if desired. Wrap the band around the box and adhere to itself and the box on the back of the flap. Fill your box with 4-6 cards and envelopes and tuck flap under the band. Embellish as desired.
Thanks for stopping by today! If you have any questions, please ask away in the comments section!
Have a wonderful day!


This comment has been removed by the author.
ReplyDeleteThese are so cute. Wondering what brand of adhesive did you used to get them done?
ReplyDeleteTesa Philippines