
A New Design Team Position...!
Hi, hello! Today is my first post over at Butterfly Reflections Ink blog! I am joining their Design Team for the next 4 months and I'm looking forward to my creative time with their talented group!
This is what I shared on their blog today; some cards I made by working backwards.

Wait, what? Well, it's a technique where you smoosh your ink pads on your craft mat, mist the colors with water and then drag your water color paper through it to create a mess of color. I used my Tim Holtz mini distress ink pads for this project and I started with a mix of blues and greens, yellow, pink and orange, and a touch of purple, which in the end, I wasn't brave enough to include. This might be one of those times when less is more.


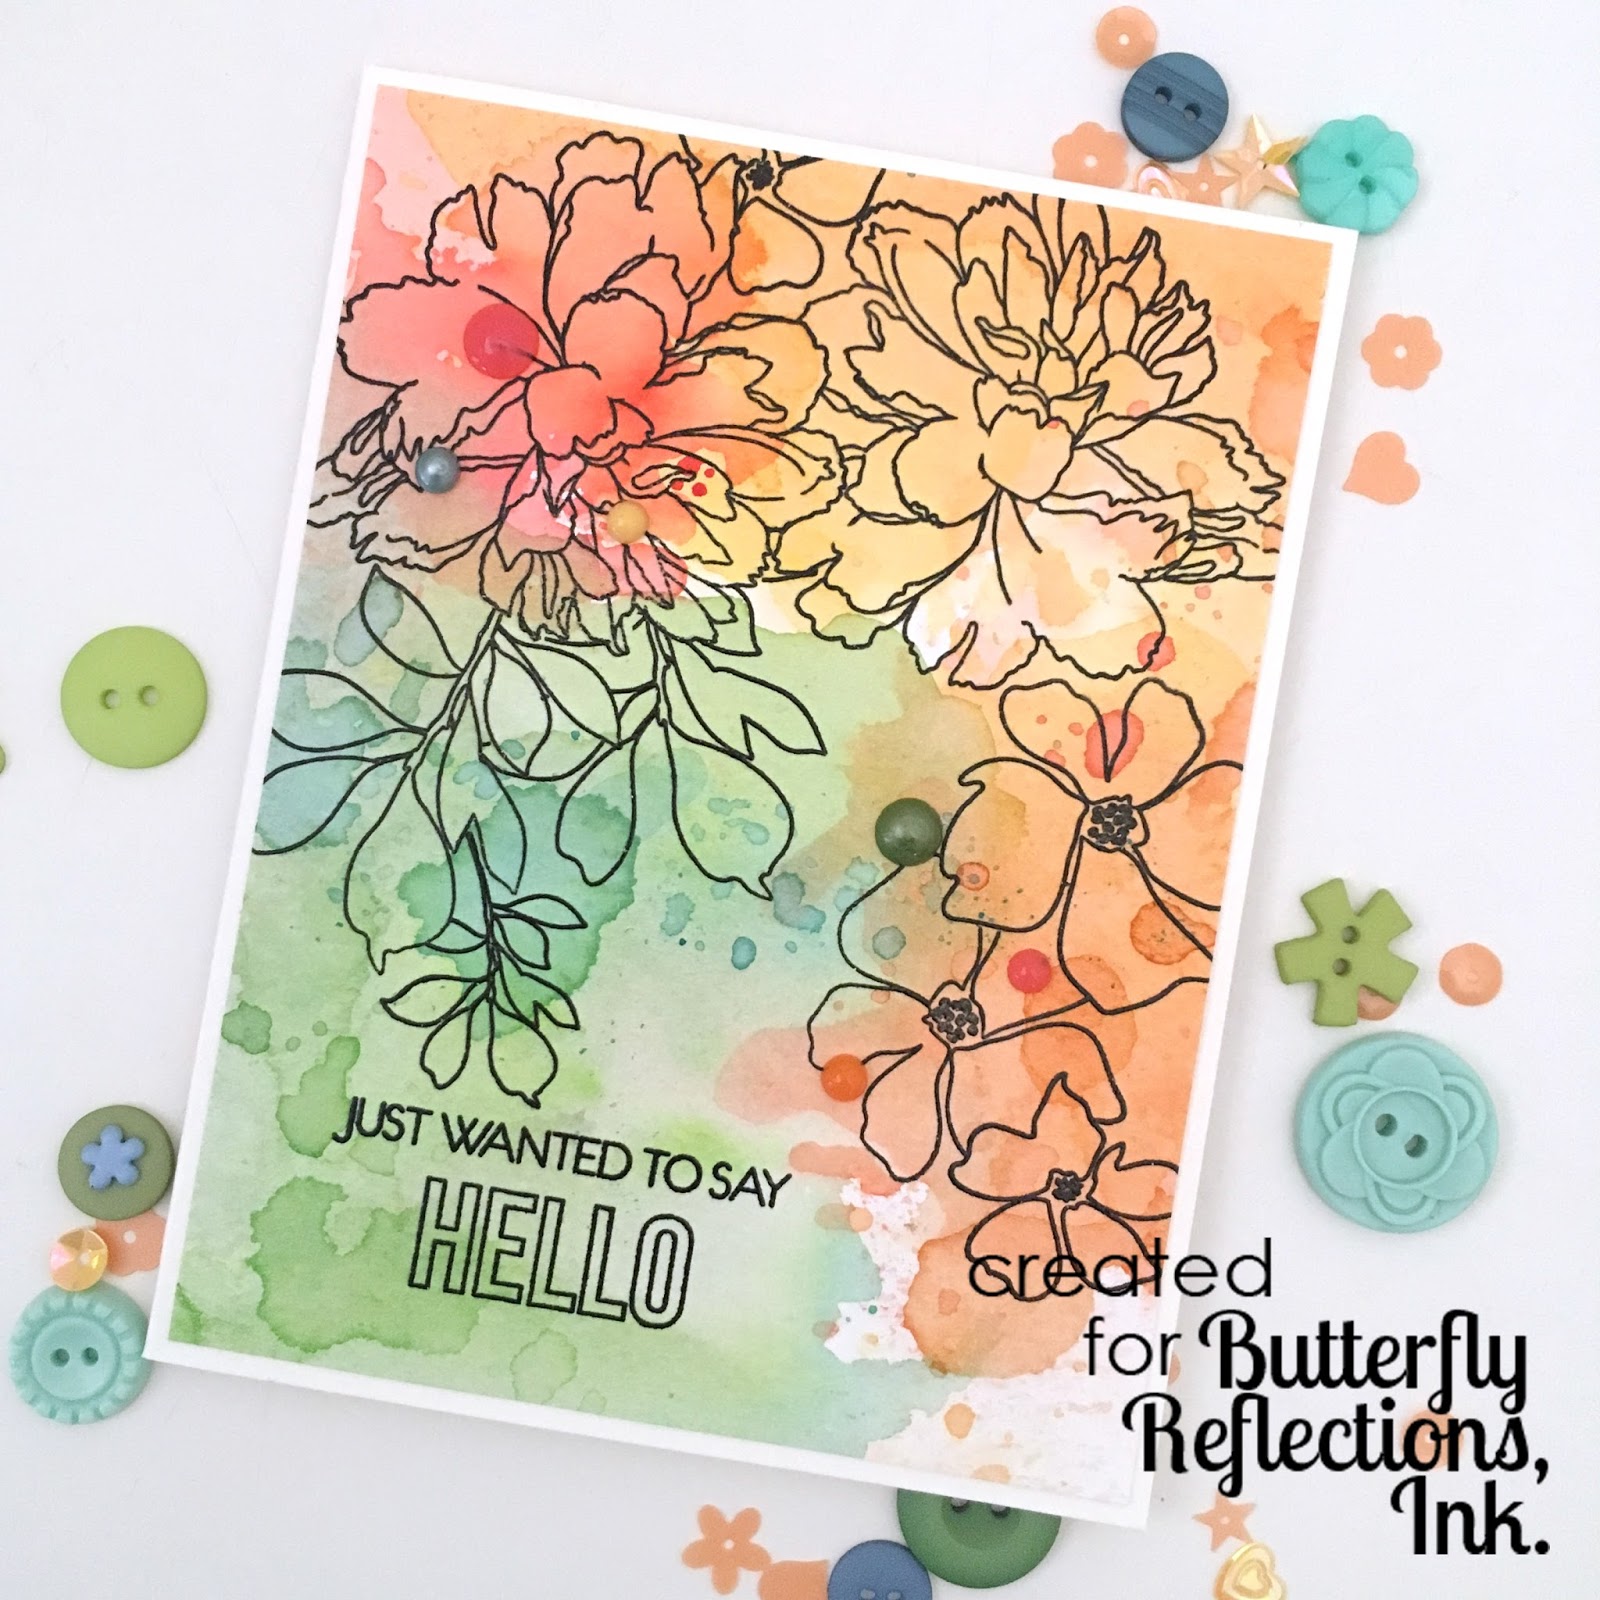
So once you have a dried card panel, you can start to lay your stamps down, coordinating stamp to colors. For example, I used the pink, yellow and orange areas for my flower stamps and reserved the green/blue areas for the leaves. It's good to start with at least a vague idea of what stamps you plan to use, and florals work best I've found, although fruits are lovely too.

The process can be a little bit time consuming if, like me, you prefer to let each layer air dry, rather than using a heat tool to dry it, and even with that, I probably layered on more colors about 4-5 times. I eventually lost count! And in the spirit of complete openness, I did employ my paintbrush from time to time, when I felt some color needed help getting where I wanted it to go. And I'm always be happier with the results when I keep the green/blues from overlapping with the yellow/pinks, because that just produces an unappealing mud color.

The next step was to make some stamp color embossing decisions. So I did a little sample on a scrap piece and quickly came to the conclusion that white heat embossing would be a waste of your time and mine! I ended up doing one card with gold embossed images, one with silver, and two with black ink. The black stamped cards ended up being my favorite, although the gold and silver cards have a lovely subtle elegance that is beguiling in it's own way!


So once you have a dried card panel, you can start to lay your stamps down, coordinating stamp to colors. For example, I used the pink, yellow and orange areas for my flower stamps and reserved the green/blue areas for the leaves. It's good to start with at least a vague idea of what stamps you plan to use, and florals work best I've found, although fruits are lovely too.

And once you have your first stamps stamped, you can mask them off with Post-It masking paper and fill in behind with more layers of flowers and leaves.
as well as the Just Saying Hello and Happy Days sentiments from Create A Smile. You guys. I don't know if I'm the last one to discover Create A Smile, but they have some AWESOME stamps and stencils and it is now my life's work to own them ALL!

These are the stamped and embossed card panels. Now to make them up into cards!


After spending that much time creating the colorful backgrounds and then stamping, masking and embossing the designs, I felt that I wanted to keep them as simple as possible. So the sentiments were basic stamping on either the card panel itself, or a strip of vellum (above), or as in the case of the last card here, on a piece of black cardstock.


Finally, I added some coordinating colored dots with Tonic Studios Nuvo Drops, and there you have it!


Thanks for stopping by today! Clicking on any of the links I've provided will take you to the same item in the Butterfly Reflections Ink store. There, you'll find a dazzling array of products, a points reward program for your purchases and lightning fast shipping and delivery!

Congratulations on your DT position ! And this is a great first post !
ReplyDelete[margessw(at)icloud(dot)com]
Woo hoo! Congrats to you on your DT role! You certainly knocked it out out of the park with these cards! Just.love.each.one. TFS
ReplyDeleteGorgeous cards! Love all the different styles on each card for unique and stunning cards. I love watercolor techniques and distress ink! Thanks for sharing, you are so inspiring.
ReplyDeleteGorgeous! I love the delicate blooms over the soft colourful background.
ReplyDeleteStunning! I love the whole thing!
ReplyDeleteLove this made me remember another way mist your water paper then put sploches /drops of different colours over the top from to top. Then place a newer price of card on top then take the top one off. And you will end up with 2 beautiful prices of card for use.
ReplyDeleteI started making cards in 1994., taught by a lovely woman Maxine Austin in Busselton, Western Australia. She taught us all many different ideas to make and decorate card bases , all sorts of things. I now attend classes at my Stampin Up Demonstrator Rachael Lewesleys home in Busselton. And she keeps me up to date. Sometimes the cards are something I learnt to do that example 20 years ago then I can share what I knew with Rach.
Corinne ... Capel, Western Australia.
It is a very profitable post for me. Private tutor Larchmont I've enjoyed reading the post. It is very informative and useful post. I would like to visit the post once more its valuable content.
ReplyDeleteThanks for thhis
ReplyDeleteGreat job. There very pretty
ReplyDelete